Docker Sandboxes Tutorial: Run Claude Code and AI Agents Safely with microVMs
Learn how Docker Sandboxes isolate AI coding agents with microVMs. Compare containers and sandboxes, configure network policies, and run Claude Code safely.
I recently came across a new Docker feature called Sandboxes. It allows developers to quickly run AI-generated code in an isolated environment, reducing the security risks of executing it directly on the host machine.
Kernel Differences
When I first started using Docker, I always thought it was a fully isolated lightweight virtual machine—similar to a traditional VM, just faster and less resource-intensive.
I later learned that containers actually share the host kernel. Unlike traditional virtual machines, containers do not emulate a complete hardware stack and operating system. This is why Docker containers start quickly and consume fewer resources, but it also means their isolation is not as strong as that of a true VM.
Docker Sandboxes are designed to address this isolation gap. They allow agent-generated code to run in a genuinely isolated environment, so even if the code attempts to access or damage the system, it does not directly affect the host itself.
Standard Docker containers mainly rely on Linux namespaces and cgroups for isolation while sharing the host kernel. Docker Sandboxes, by contrast, place the agent inside a microVM with its own kernel, moving the isolation boundary up to the hypervisor/VM layer.
This also reduces the need—and the associated risk—of giving an agent Docker capabilities by mounting /var/run/docker.sock, which can indirectly grant control over the host Docker daemon.
| Aspect | Standard Docker Container | Docker Sandboxes |
|---|---|---|
| Kernel | Shared with the host | Each sandbox has its own kernel |
| Docker daemon | Often shared with the host, or requires mounting the Docker socket | A private daemon runs inside the sandbox |
| docker build/run | Available, but controlling the host Docker daemon usually requires elevated access | Available directly inside the sandbox |
| Isolation boundary | OS/container layer | Hypervisor/microVM layer |
| Impact of an uncontrolled agent | Depends on mounts, capabilities, sockets, and other configuration | Primarily contained within the microVM and explicitly authorized resources |
How Files Move In and Out
A sandbox does not automatically have access to your entire disk. It only receives the workspace that you explicitly share with it. Changes made by the agent inside that workspace are reflected in your host project directory.
In contrast, packages installed by the agent, images and containers it creates, and other internal state remain inside the sandbox rather than your host Docker environment.
A microVM protects host resources that you do not share. It does not automatically protect a repository that you explicitly mount into the sandbox. Avoid indiscriminately exposing your home directory, SSH keys, cloud credentials, or .env files containing secrets to the workspace.
Installation and Setup
The following example uses macOS. The overall workflow is: install → sign in → start → manage → configure networking.
# Install the sbx CLI
brew trust docker/tap
brew install docker/tap/sbx

# Sign in to your Docker account and configure the network policy on first use
sbx login

# Start Claude Code from your project directory
cd ~/workspace/my-app
sbx run --name my-app claude
Here are the most commonly used lifecycle commands:
# List sandboxes
sbx ls

# Stop a sandbox while preserving its environment and state
sbx stop my-next-app

# Remove a sandbox and its internal state
sbx rm my-next-app

# View network rules
sbx policy ls
Network Policies
Before running sbx, you need to configure a network policy. It controls where an agent inside the sandbox is allowed to connect, rather than simply deciding whether it has network access at all.
These are allow/deny rules for outbound traffic, or egress. Even if an agent executes commands, installs dependencies, or is influenced by prompt injection, it can only send data or requests to explicitly allowed destinations.
Docker Sandboxes network policies consist of policies and rules:
- Policy:A named collection of rules, such as Local Frontend Development or Restricted CI.
- Rule:A specific access rule composed of an action, target, and decision.
- Action:For example,
connect:tcpandconnect:udp. - Target:A domain name, CIDR range, or specific port.
- Decision:
allowordeny.
Outbound sandbox traffic passes through an HTTP/HTTPS proxy on the host, which applies policy rules to each outbound request. Non-HTTP TCP traffic, such as SSH, can be explicitly allowed for a particular IP address and port. UDP and ICMP traffic, however, are blocked at the network layer and cannot be enabled through policy rules.
Three Default Presets
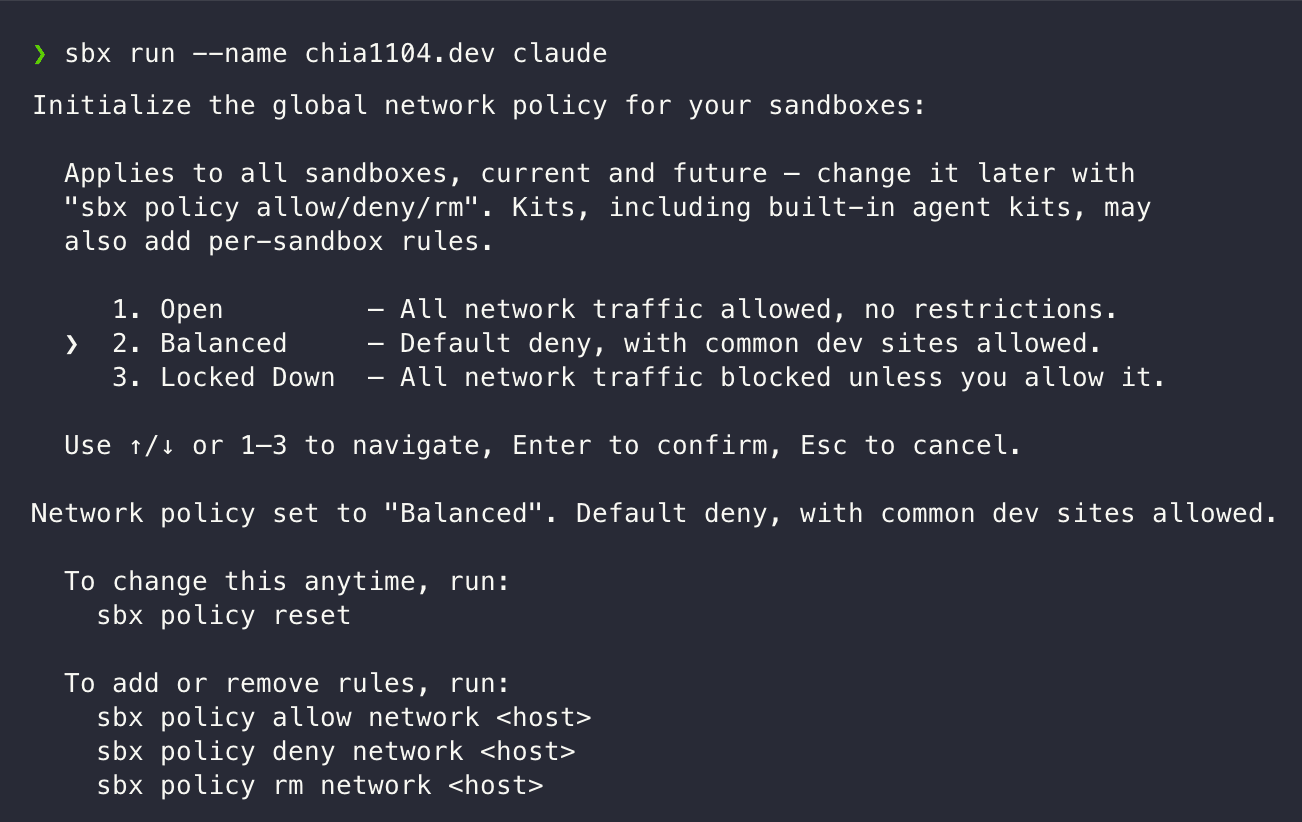
When you start a sandbox for the first time, or run sbx policy reset, you need to select a default policy preset:
| Preset | Behavior | Recommended Use Case |
|---|---|---|
| Open | Allows all outbound traffic, effectively acting as a catch-all allow rule | Quick experiments and short-lived debugging; not recommended for repositories containing secrets |
| Balanced | Denies traffic by default, but includes built-in access to common AI APIs, package registries, code hosting services, container registries, and selected cloud services | A practical starting point for most day-to-day agent development |
| Locked Down | Blocks all traffic, including LLM provider APIs | Sensitive repositories, enterprise environments, or cases where every domain must be explicitly reviewed |
To view the current rules:
sbx policy lsRules you create are applied to all sandboxes on the machine by default:
# Allow the sandbox to install npm packages
sbx policy allow network "*.npmjs.org"

# Allow the sandbox to clone, fetch from, and push to GitHub repositories
sbx policy allow network "github.com,api.github.com"

# Explicitly block a domain that should not be accessible
sbx policy deny network "example-tracker.com"
If a rule should apply only to a specific sandbox, use --sandbox to scope it and avoid turning an exception into a global permission:
sbx policy allow network \
  --sandbox frontend-agent \
  "api.example.com"
Using Claude Code
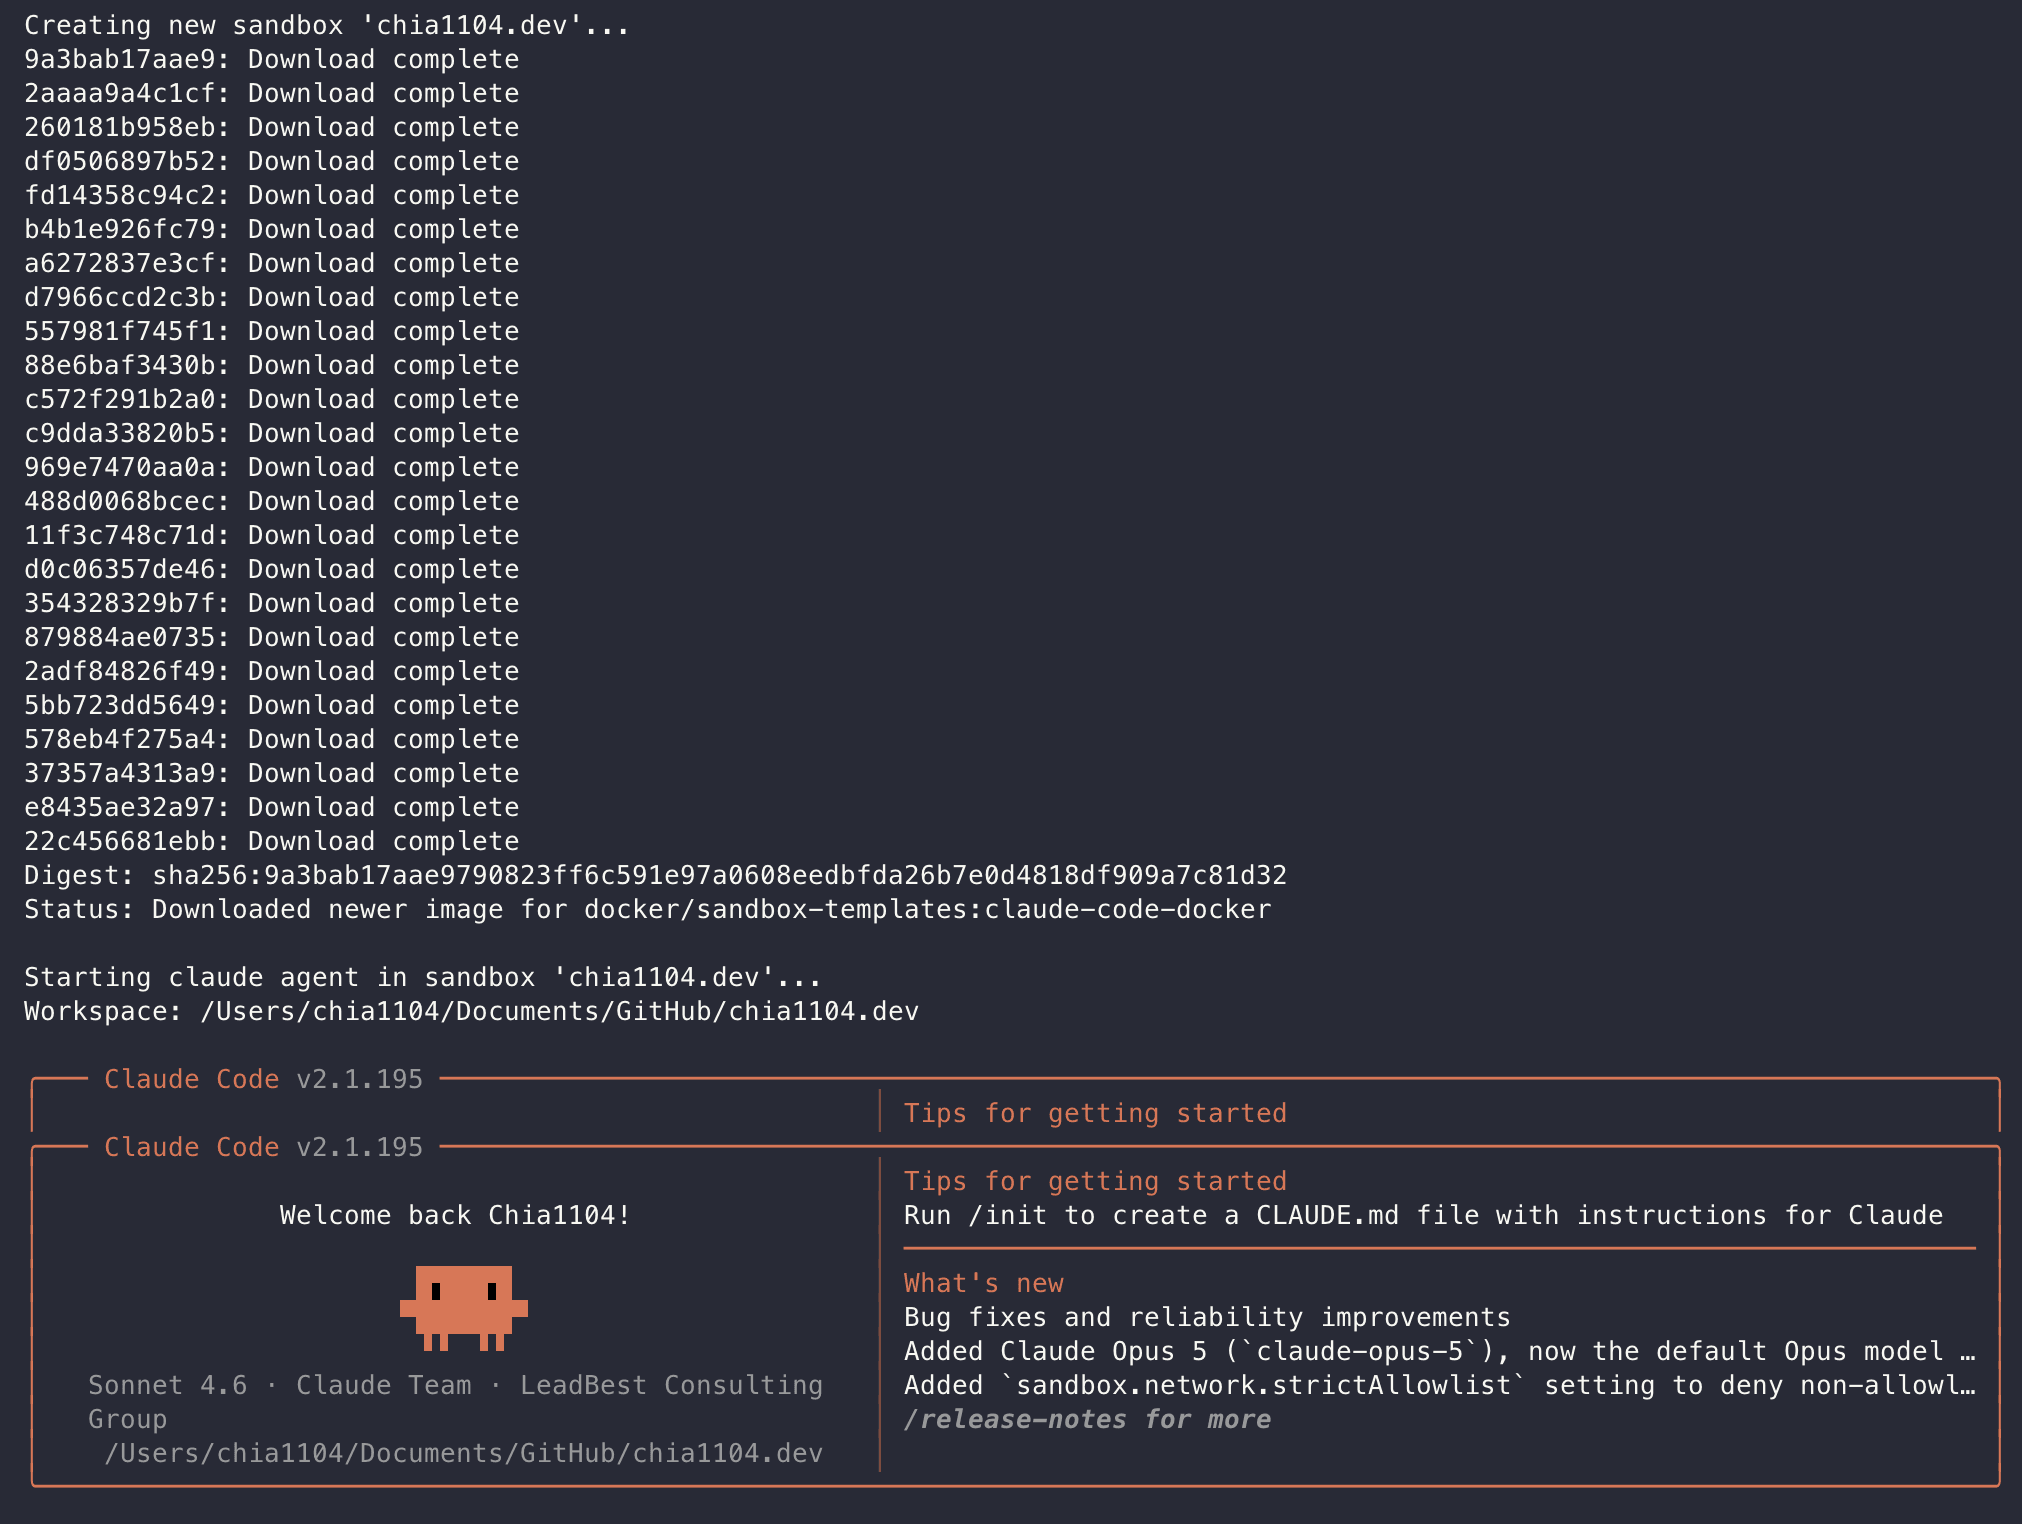
First, navigate to the workspace where you want to run the agent. On the initial run, Docker Sandboxes pulls the Claude base image inside the microVM.
# Start Claude Code from your project directory
cd ~/workspace/my-app
sbx run --name my-app claude
Because each sandbox is a new and isolated environment, agent-specific configuration may need to be set up separately for each sandbox. This can include authentication, skills, MCP servers, and other agent configuration.

This requires a little more setup, but it also gives you a cleaner and more isolated environment for running coding agents.
Written by: Chia1104 CC BY-NC-SA 4.0